Live streaming: How to build a pond waterfall

There must be something primeval about our attraction to fresh, running water. In nature we can drink it, bathe in it and find food in it, or even use it as a method of transport. And as far removed today as we are from our ancestors, we still like to have it in our gardens, or near to our houses.
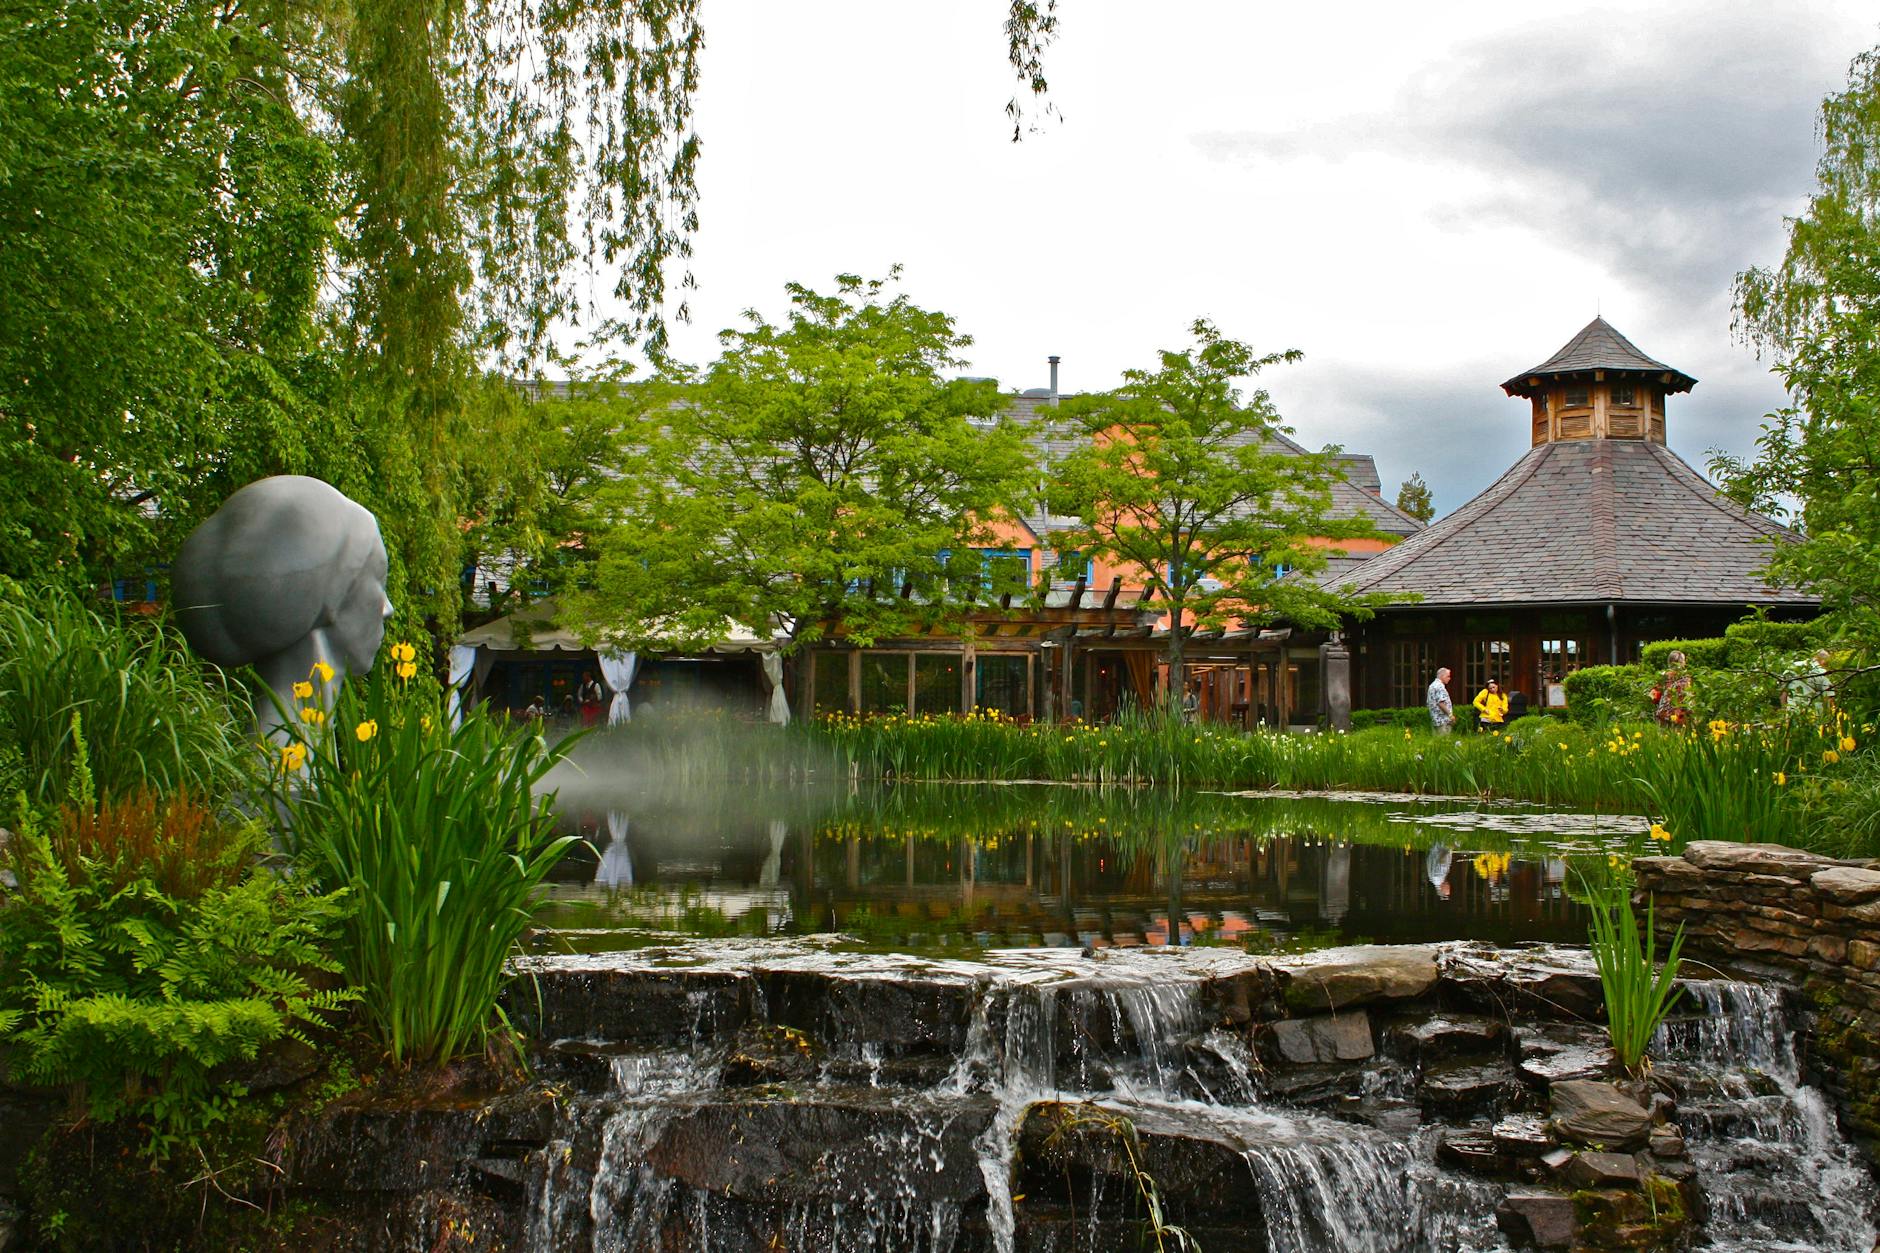
I’m a massive fan of garden streams and waterfalls, and while a still pond definitely has it’s place, the sight and sound of running water for me, takes enjoying water in the garden to the next level. The good news is that as long as you have a safe, outdoor power source you can install your very own stream, waterfall or both in as little as a few hours. You don’t even need a pond!
The basics
To make water run and re-circulate you need a pump, some hose, and a gradient. It has to fall down into and be pumped back from a reservoir, and this would usually be your pond. You don’t need to buy and fit your waterfall at the time of building the pond, and retro-fitting a waterfall is something that is very easy to do.
If planning a pond and simple waterfall, the easiest place to start is at ground level. Dig your pond, pile up all the soil in one place and you are left with a hole – the pond – and a mound – the waterfall. When calculating your pond liner factor the length of the liner to include going up to the top of the mound of earth. You then dig a channel in the mound, leading back to the pond, stretch the liner over pond hole and mound and you have a single piece, waterproof way of getting water down from the top of the mound and back into the pond. The cascading waterfall part will need edges to keep the water from going off in every direction, which do simply by making furrows down each side in the soil, under the liner. You then drop the pump into the pond, run a hose from the pump out of the pond and either round the back of the mound to come up and feed the waterfall from the top, or if using a strip of liner run the hose up under the liner part of the waterfall, and poke the tip out at the top to feed the cascade. Plug pump in, check water isn’t escaping down the sides of the mound and you have a rudimentary waterfall. Make a longer, much shallower mound, or use a patch of garden with a gradient, and you can make a stream in exactly the same way.
The next thing to do is to make it look pretty. Use your choice of rocks from the garden centre to place in the stream. Use the same type of rocks for a natural look, but vary them in size, and if you want to use pebbles in the actual running water part you can. Cover the liner part of the stream or waterfall completely in rocks and trim away and discard and liner from the sides. Plant terrestrial garden plants up around the waterfall or stream, with a few overhanging it here and there, and you have your own naturalistic looking moving water in your garden.
Retrofits
If you already have an existing pond then that’s quite easy too. Again you need to start with a mound or gradient next to the pond. This you can do with soil, but you could start with bricks, blocks or hardcore to give it some height, then cover with earth, or even use old rolls of turf. Go to the water garden centre purchase a 1m length of a 3m wide pond liner for example, which you then lay on the mound, again digging a channel in it first, and then, importantly, making sure that the new liner piece terminates actually in the pond. Even though water travels downhill and you have your new liner overlapping the old liner like tiles on a roof, you will still need to seal it. (more about this later,) depending on the liner material, either use the glue supplied in a liner repair kit or a pond grade silicone to stick the two liners together underneath the flap. Make sure the seal goes from edge to edge, right the way across where the new strip meets the old pond liner to prevent water from travelling elsewhere. If using liner glue it’s important to match up your pond liner material with your new watercourse liner material. That way they will stick together properly.
Pre-formed
An even easier retro-fit waterfall or stream is to purchase a preformed design. Widely available, these pre-designed, pre-constructed waterfalls may be made from fibreglass, concrete like materials or resin, but someone who knows what they are doing have already put the artistic and practical work in for you, creating a natural looking, stone effect waterfall with a gradient and channels to cause pleasing, cascading water both for the eye and the ear. Again, crate mound at poolside, this time of the same angle as the watercourse, lay the watercourse down, overlap the end of the watercourse over the existing pond and you have a ready-made water feature. Run the hose from the pump up, underneath the watercourse so the water spouts out at the top, stick a rock on the hose at the top and you are away.
Shop around and models are available with a built-in hose tail so you don’t have to hide the hose at the top, and having had many over the years, these are my preference. Most average about three feet in length but if you want something much longer my advice is to opt for the models which overlap each other and interlock. Some can look a bit twee and artificial at first but get a bit of moss on them and let them age, and they can look as good as the real thing.
Concreting
This is really one for the experienced brickie, landscaper or sub-contractor, but using the very basic liner principle advocated above, you could build your own stream or waterfall. The liner piece is the basic waterproofing but by then using concrete or mortar, and rocks on top of it, forming into your shape and design, and letting it set solid, you can create large streams or waterfalls in bespoke designs. Like with any design, (and when aquascaping an aquarium,) more is more, meaning use lots of rocks for maximum visual effect, and if you get a mini digger, or several body builders wanting to show off, get some really big rocks, several feet across, and take your time arranging them in the most natural looking way. Attend a flower show too for inspiration. RHS Chelsea, Hampton Court, Tatton Park, even your local flower shows. Display gardens never fail to disappoint with their streams, waterfall and rills, even in tiny gardens, and you’ll come back brimming with inspiration.
Pump selection
There are two main types of pond pump – solids handling filter pumps and fountain pumps. The good news is that you can use both types. Fountain pumps typically can lift water at more head and pressure, so are better for high waterfalls, but if you want to use the same pump to run a filter and exit via a waterfall or stream you will need a filter pump. There are two basic types of pond filter too – pressurised, where water is pumped in and can then exit at pressure, and uphill if necessary, and then those where water is pumped into the top of the filter, drops down inside by gravity, and then exits at the bottom. They are not to be confused with Gravity fed koi filters, which are different again.
Fundamentally however, the two types of filter will affect the aesthetics of you stream or waterfall. A gravity filter will have to be placed at the highest point, ie at the top of the waterfall. A large filter box sat on top of your rockery may be difficult to hide, where as a pressurised filter can be dug into the mound, with only lid showing, or better still placed at the bottom, or rear of the mound with a hose then running up to it. For fans of larger, non-pressurised filters the ideal is to have two pumps – one running your filter at ground level and one running just the waterfall, or a waterfall and fountain by way of a T piece.
Flow rates
The biggest mistake new pond keepers make is with pump size. This is understandable, as the average man or woman in the street has had no need to know what 700lph, 7000lph looks like when flowing into a pond. Until now.
The cheapest pumps will be the smallest pumps, but a small pump means a small flow, which will result in a tiny trickle of water. My first job in aquatics was in water gardening, and there I learned to identify pond volume and water flow just by looking at it. I became a water ninja and could identify 10000 litres of water, be it sat still in a pond or rushing down a water course. I was always taught while there that to get a decent flow of water over a 12” waterfall you need 4000lph. Look at the side of the pump boxes and you’ll see that a 4000lph will only do 4000lph at zero head, or without lifting any water, so at 90cm high up your soil mound it may be producing half that, or less. So bear that in mind, and with power comes power consumption. For a pre-formed 90cm long watercourse with a 15cm wide channel you will need a minimum of 1500-2000lph, and again that after the water has been lifted to the top of the waterfall. Consider also blocking, as if the pump cage becomes covered in dirt and blanketweed flow will reduce further, or even stop. For a really big, 90cm wide waterfall you will need 12000lph, and so on. Buy too small and you’ll buy twice…
Problems
The biggest issue with any stream or waterfall will be from leaks. You won’t see small leaks, they may occur under the waterfall and the water seep into the mound. The only visual indicator you may ever get is your pond level dropping. Check pre-formed watercourses for cracks and importantly, make sure that all the water is flowing straight off the bottom of the waterfall, into the pond. Something that occurs very commonly, even when the waterfall is well over-laying the pond, is water falling over the lip, but then curling back around, underneath the waterfall, and making it’s way outside of the pond. Plant roots, leaves and twigs will also wick water away and cause noticeable water loss, so inspect regularly and keep your stream or watercourse clear.
Evaporation is inevitable, as a waterfall increases surface area of the pond, and thus increases evaporation. The upside of this is much better gaseous exchange, diffusing oxygen in and carbon dioxide out of the system, which is great for fish health. The downside is that waterfalls act as heat exchangers, helping to raise water temperatures on hot days and chill water on cold ones. On the hot days evaporation from the pond will be noticeable, so if you spot the pond level dropping in summer with a waterfall, it won’t always mean necessarily, that there is a leak.
Waterproofing
If you make a stream, waterfall, watercourse or rill out of anything involving cement, you have to make it safe. Cement is lime, so it’s incredibly alkaline and will raise water pH to dangerous levels – sometimes to over pH 10. This is very bad for fish, so you need to make it safe in one of two ways. Buy an additive from the water garden centre which you mix into the concrete or mortar mix, or make it in the normal way, let it set, and then seal it. You can paint in a clear waterproofing sealant or if you want a colour, you can buy coloured pond paint. For belt and braces you could even use the additive and then paint it, because dealing with it once the pond is full and running will not be easy.
Go to the garden shows and you will find a myriad of rills built from modern, angular materials like metal. This gives that ultra neat waterfall lip, but make sure it won’t corrode, be careful when cutting and shaping it, and use a spirit level for neat, even coverage of water.
The child safe waterfall
You can enjoy a waterfall in the garden without actually having a pond. Using a water feature tub, large pebble pool or small piece of pond liner you place it in the ground, make your mound next to it, but then this time you place pump and hose in the water, but then a grid over the top, then cover that with pebbles. The waterfall recirculates in the same way with water pumped to the top, cascading down and dropping off the end, but this time it falls onto and through the pebbles, giving the illusion of disappearing into the ground. .


